tbmills
Gold Member
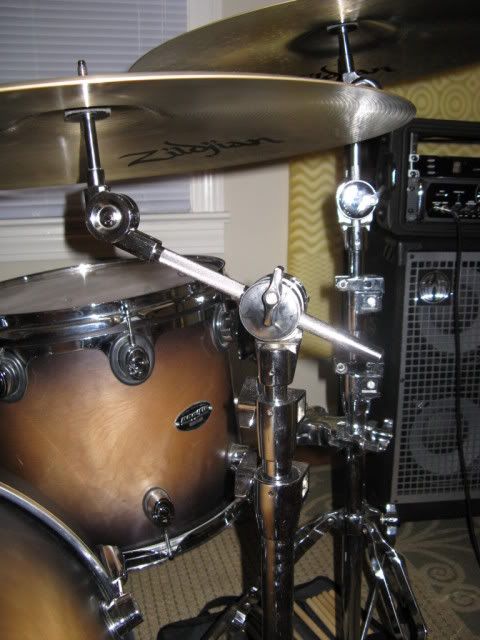
i have always wanted to shorten the boom arm under my ride. it barely reaches out and the 12" off the back was just unnecessary and got in the way of my bass player.
so... i went to lowes and bought a $4 mini hacksaw and got down to business.
i removed a small roll pin that held the tilter to the rod and used a hammer to tap the tilter off of the rod. i used the hacksaw to take 8.5" off the front so i could keep the smooth rounded end.
here are my pictures.
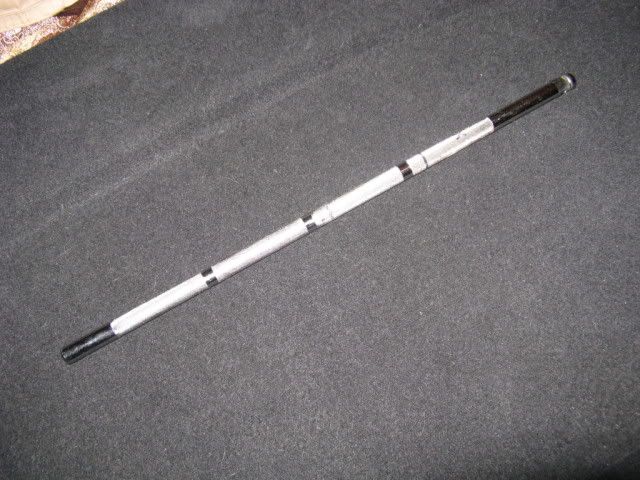
after the cut.
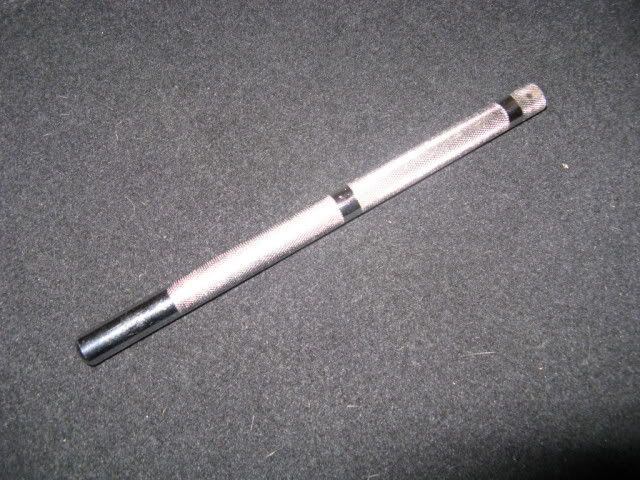
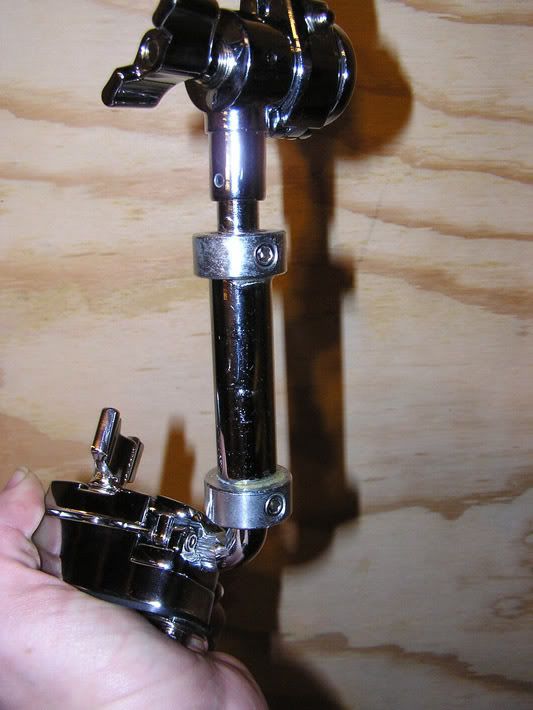
i didnt use the roll pin when reattaching the titler.
the part of rod that was covered by the titler had the cross-cut pattern.
it was a ridiculously tight fit and didnt need any extra reinforcement. (had to hammer it on)
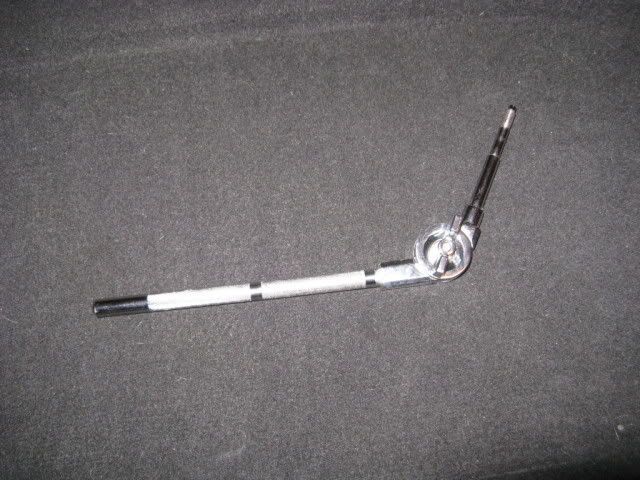
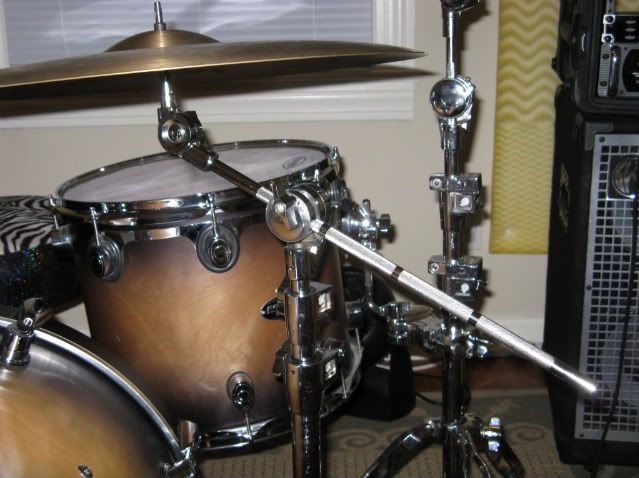
finished product...


so... i went to lowes and bought a $4 mini hacksaw and got down to business.
i removed a small roll pin that held the tilter to the rod and used a hammer to tap the tilter off of the rod. i used the hacksaw to take 8.5" off the front so i could keep the smooth rounded end.
here are my pictures.
after the cut.
i didnt use the roll pin when reattaching the titler.
the part of rod that was covered by the titler had the cross-cut pattern.
it was a ridiculously tight fit and didnt need any extra reinforcement. (had to hammer it on)
finished product...