

matt949
Senior Member
Hey guys. Haven't been around in a while. I just had my spring break and did this over the break. I took some old sound source drums i had and refinished them. They had a ugly cheap red wrap on them. I know they are not perfectly done but i mean it was just a trial really, and the shells arent in that great of condition. There was some nasty wood on the bass drum and the edges were real messed up on it. i had to end up putting some wood glue in between a bunch of splitting areas and clamp it together. Both rack toms were in decent condition, but i messed up the grommet over the air vent on the med rack tom and so i had to get it out with pliers and ended up cutting up my hand pretty nice heh. the floor tom was in really good condition except there is a nasty warp in the inner few layers. youll see.
they aren't quite done i need to get another set of claws to put the bass drum completely together and couldn't finish quite on time so no full kit pics yet.
My process was as follows.
I took of the hardware first (duh) and then pulled up the wrap. it was really easy to do on these due to there only being 1 spot that was glued to the wood. I tried to be as carefull as possible when getting it off the shell, but on the bass drum where the glue was is where the wood was bad, so some still got pulled up.
I didnt want to spend much money cause one im a broke college student and two the shells arent that great so it was more just a fun project. I only used the sand paper i had around so i started off with 100 grit on all the shells. I would have like to start with a coarser grit to make it easier to get the glue off but oh well.
After a thorough sanding i wiped them off with a old pillowcase (makes a great shop rag)
and then i went back over them with a 220 grit sandpaper. That really smoothed them out and i felt like they didnt need a finer sanding but i might have wanted to just for a really nice polish. But then again part of this was me doing my own trial and error (i didnt look at any how tos or anything i just had what i thought in my head and wanted to try it)
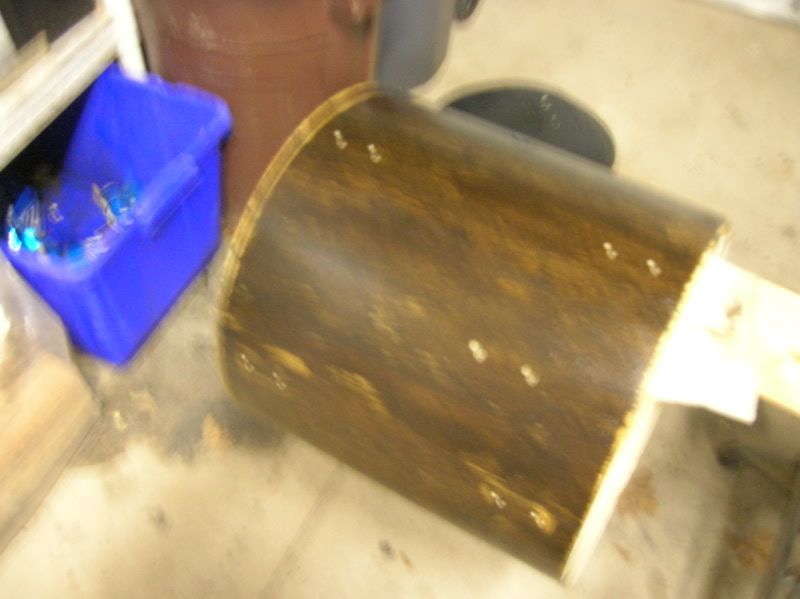
Now they were ready for the first coat of stain. I taped up the bearing edges i'm not exactly sure why i just didnt do the inside, but i figured it would somehow damage the edge. i doubt it though. i kinda wish i did the whole shell, but at the same time this was a good trial and error and it unstained part gets completely covered.
I used a minwax dark walnut stain. i applied it to the shells with a cheese cloth i did that and let sun bath for half the day. i came back at night and applied the second coat of stain. This really set off the color.
Next day i applied a minwax semi-gloss poly coat to it. i waited 5 hours sanded it down with 220 grit sandpaper and applied a second coat as directed.
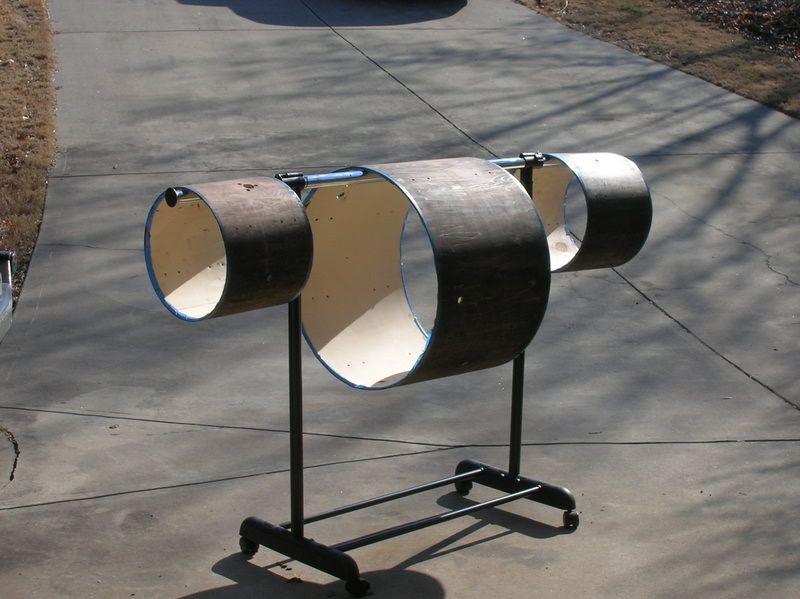
This is what they looked like when i started
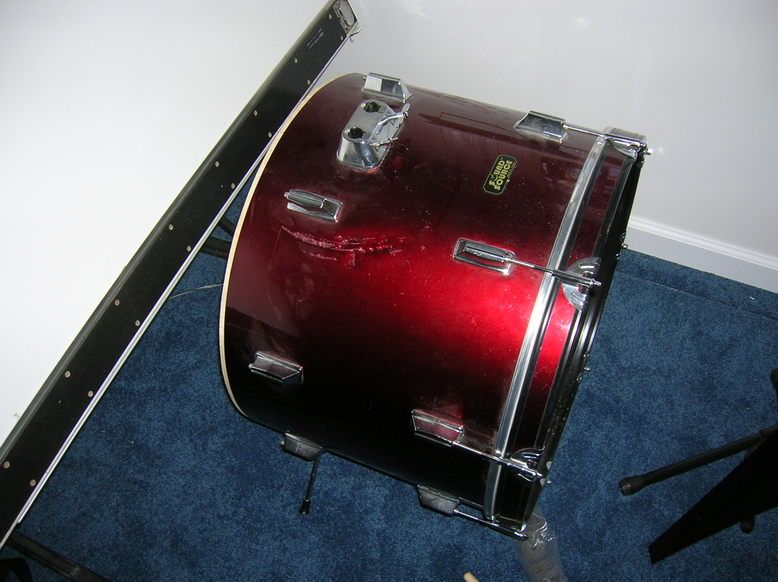
(and floor tom without hardware)
gross right?
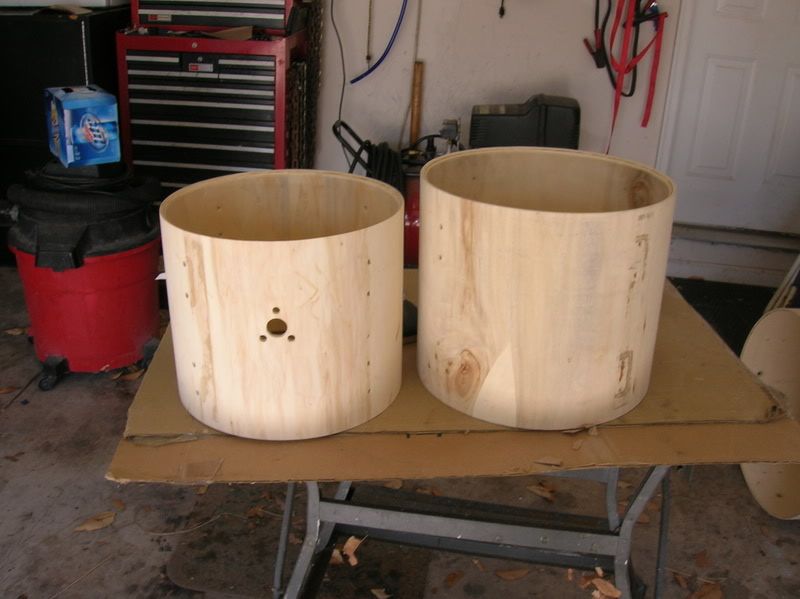
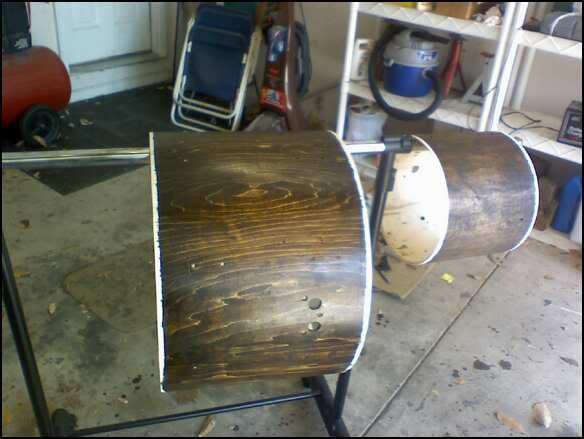
i cant find the pictures of them bare and unsanded but this is close
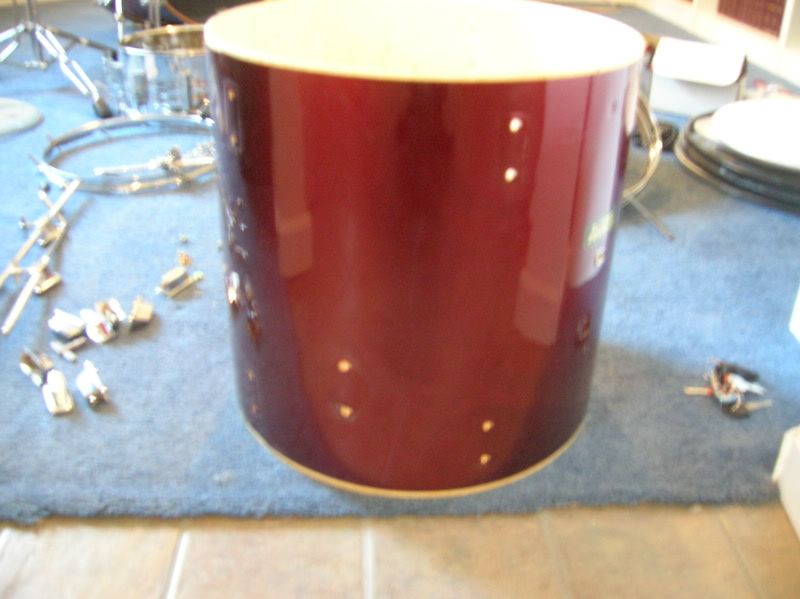
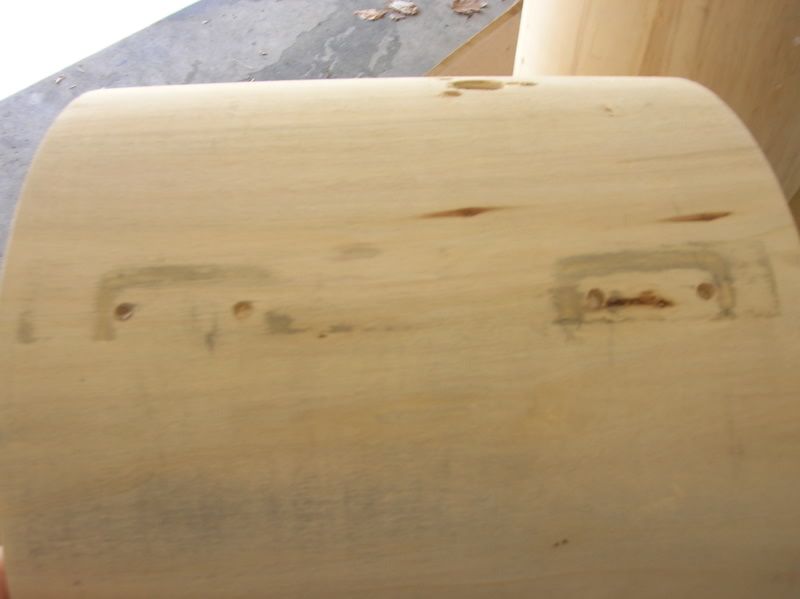
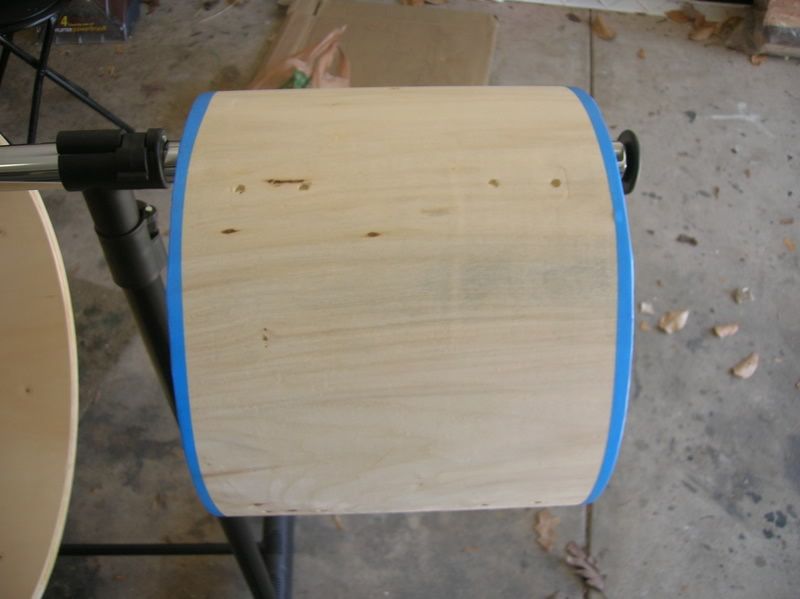
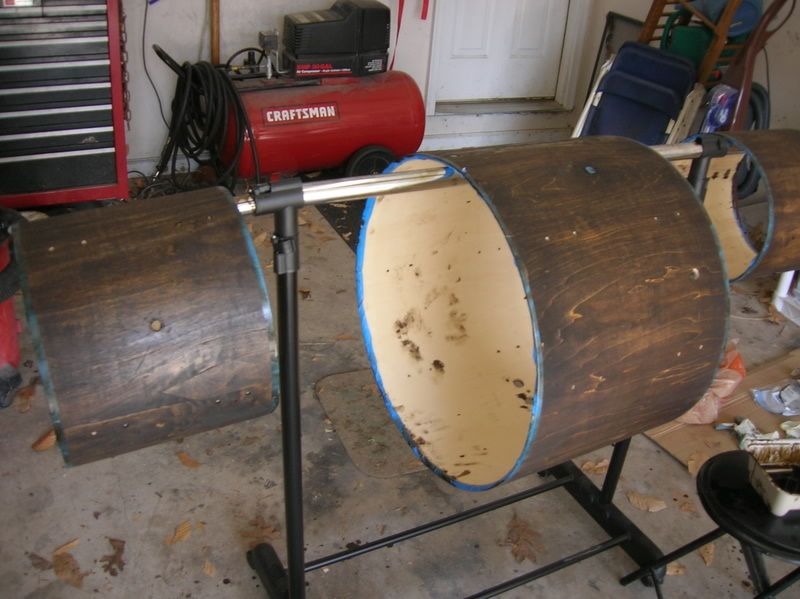
the toms after only some light sanding
the glue was a pain
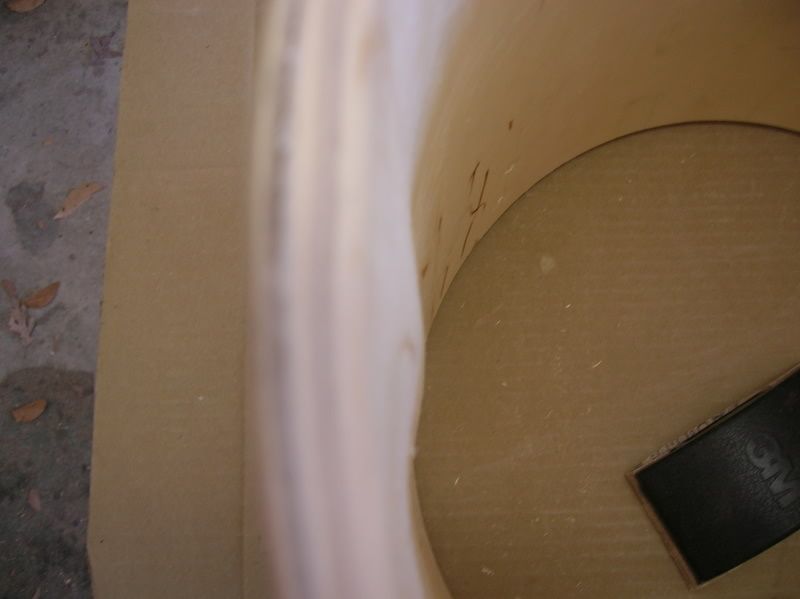
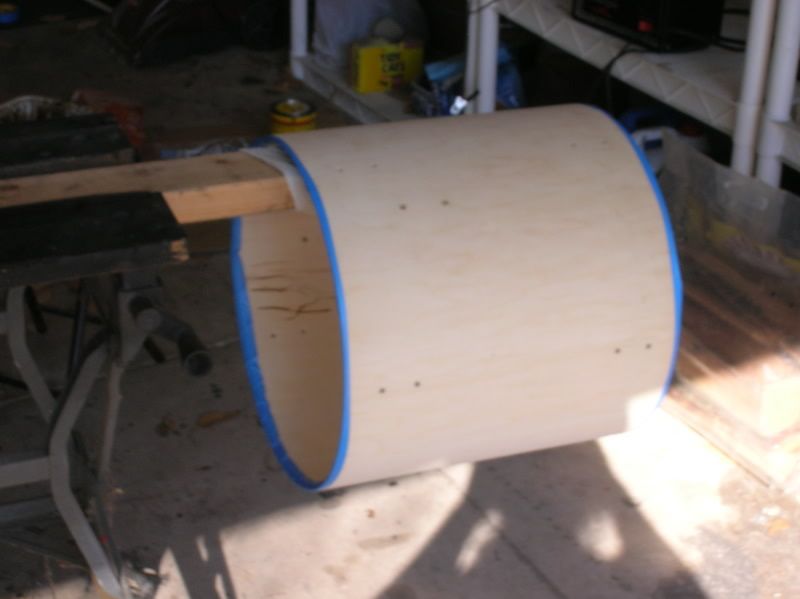
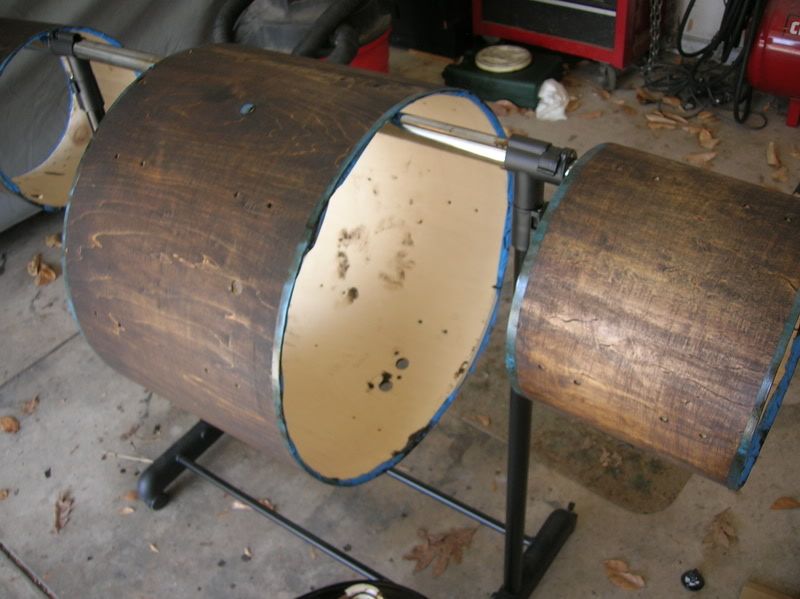
and heres the warp in the tom
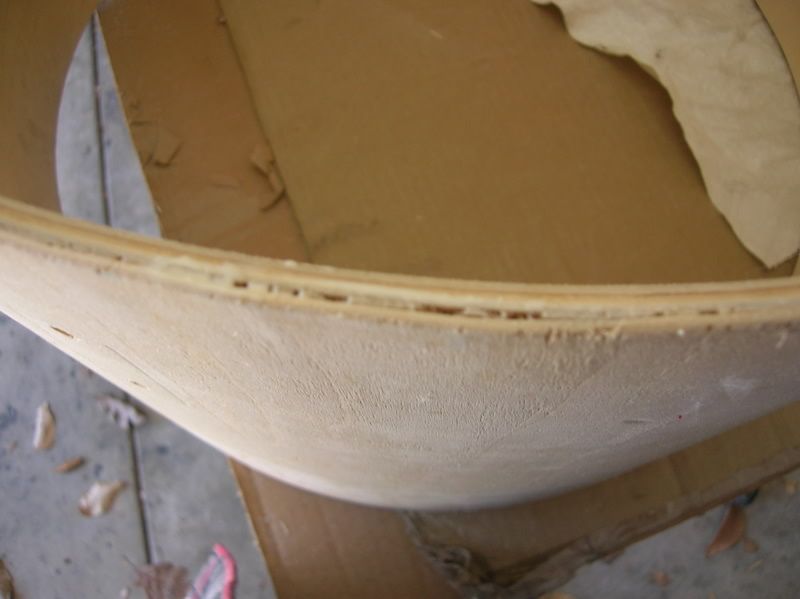
heres the bass drum... be prepared these are bare and unsanded pics.
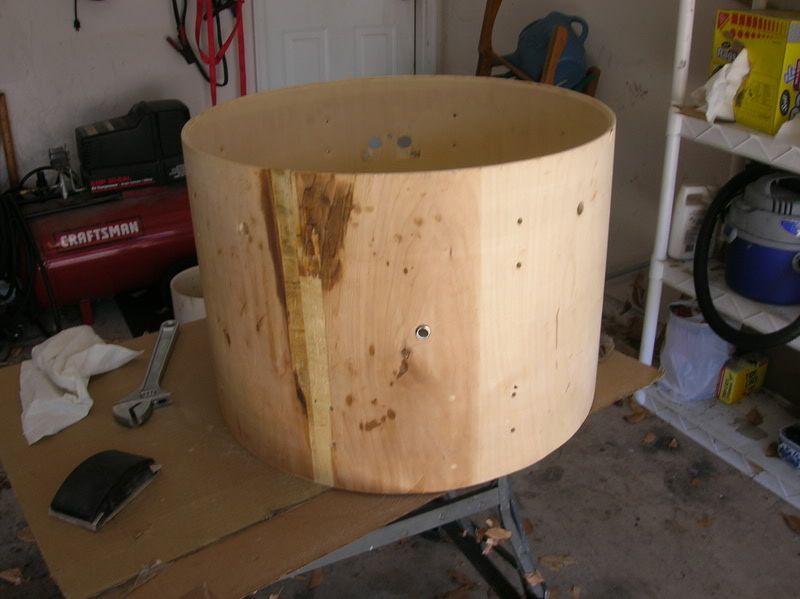
that nasty spot you see is where the wood came up on removing the wrap and where i believe the wood was starting to rot.
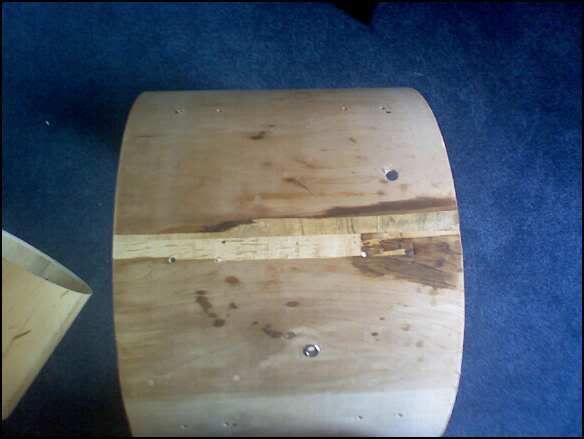
here are some of the nasty spots on the edge of the bass drum

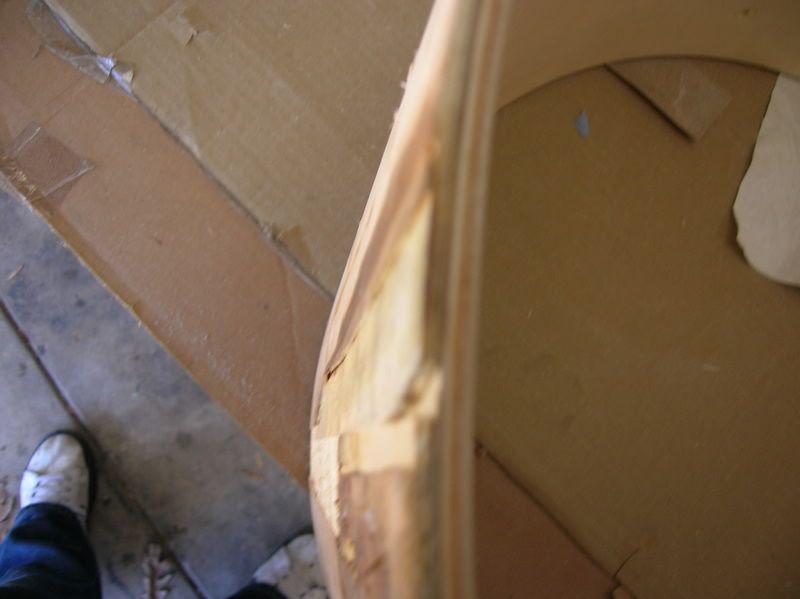
(the last one is also on the nasty spot)
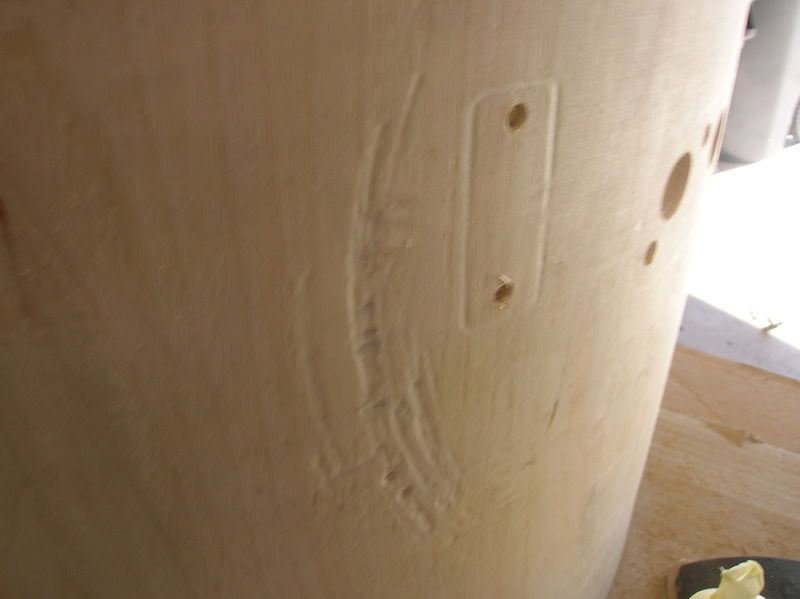
and there were some spots that were really gouged by the previous owners poor tom placement on the bass drum (they took to sanding pretty decently but they were so deep i couldnt completely get rid of them)
There are a bunch of pictures that i took and i dont know where they are any more (particularly the fixes on the bass drum), but if requested i can get some next weekend and post them.
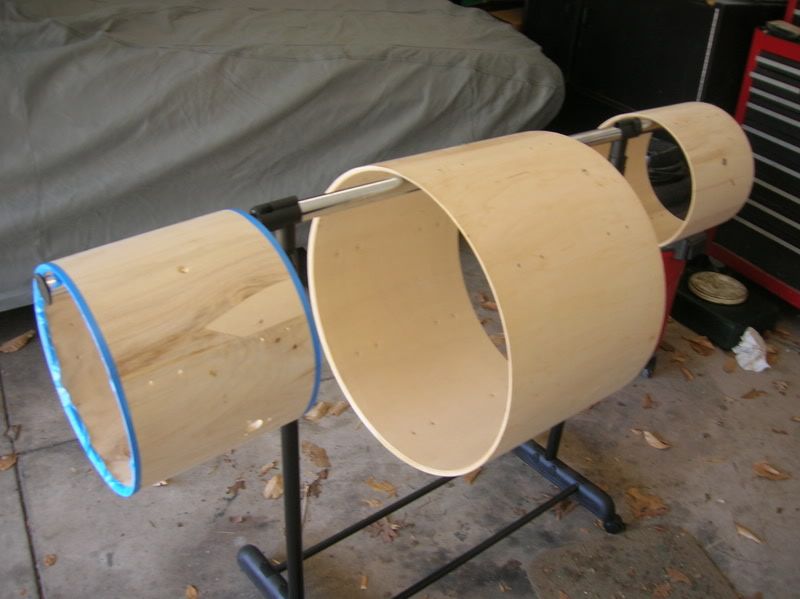
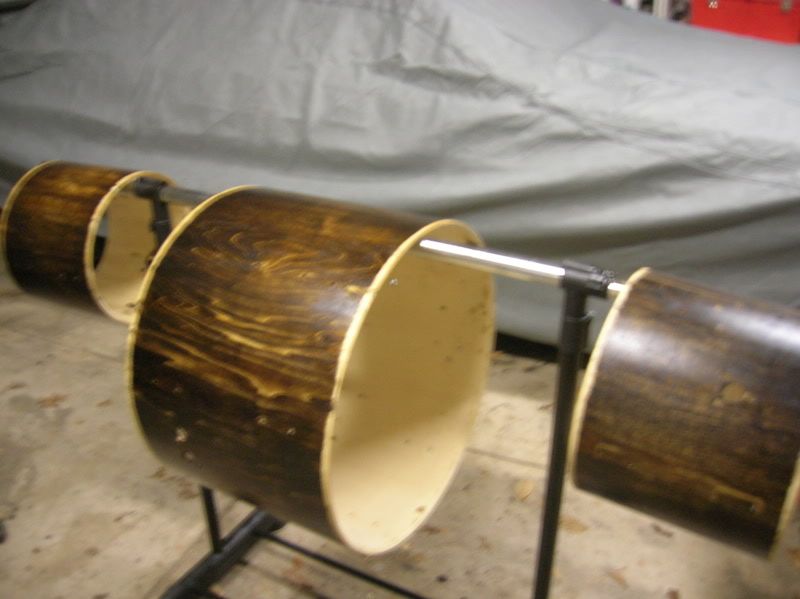
used and old wardrobe holder type thing to hold the shells while staining and drying it worked perfectly for the rack toms and bass drum but couldnt fit the floor tom so i made my own little rack clamping a 2x4 in a work bench.
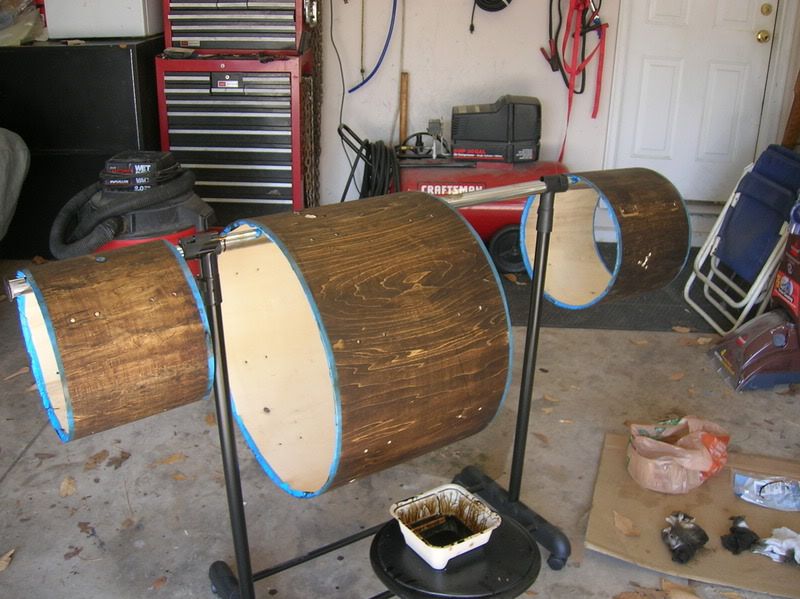
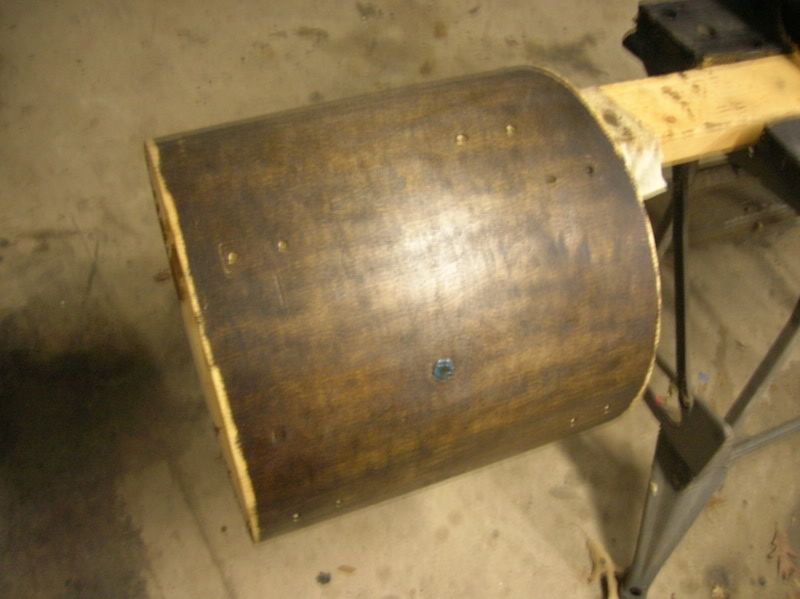
and here is the first coat
i dont know why the floor tom was sooo much darker.
and sunbathing
i really liked the color of the first coat but i figured the second would really make it look good.
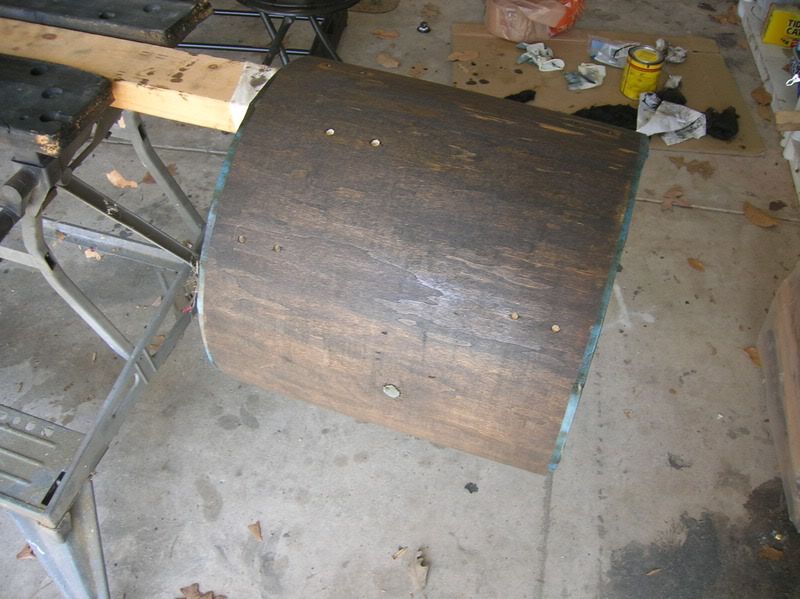
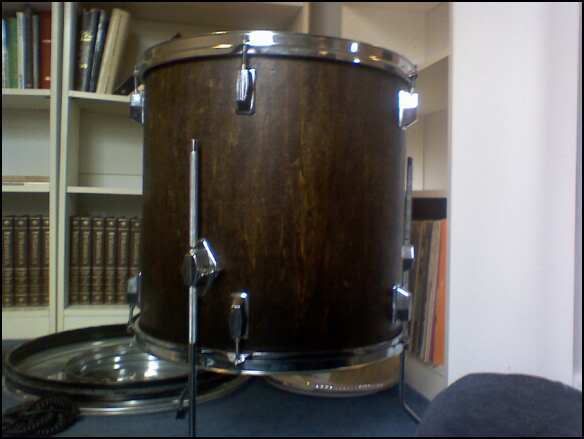
this is right after i added the second coat.
they dont look nearly as good partly due to it being at night now and only having florescent lighting instead of natural.
yeah my grubby little hand got the inside splotchy
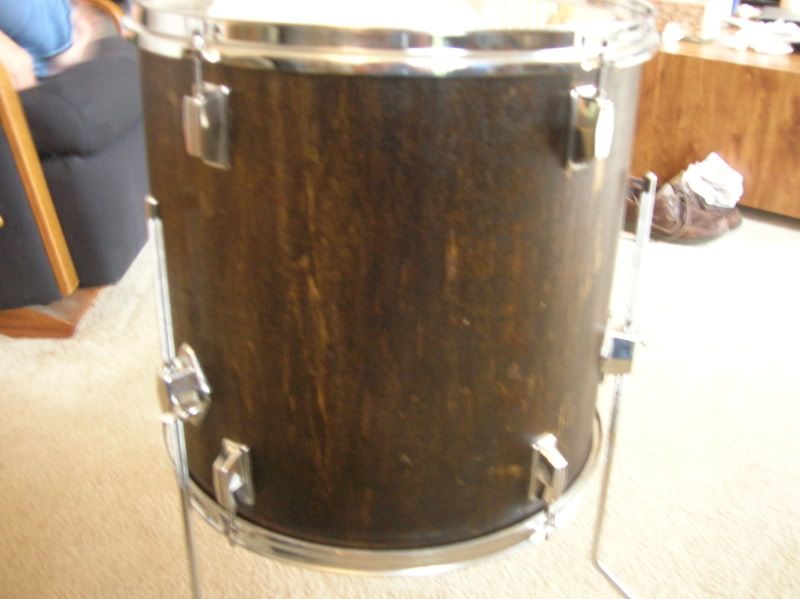
the first coat of poly didnt really make the drums pop
(some sanding^)
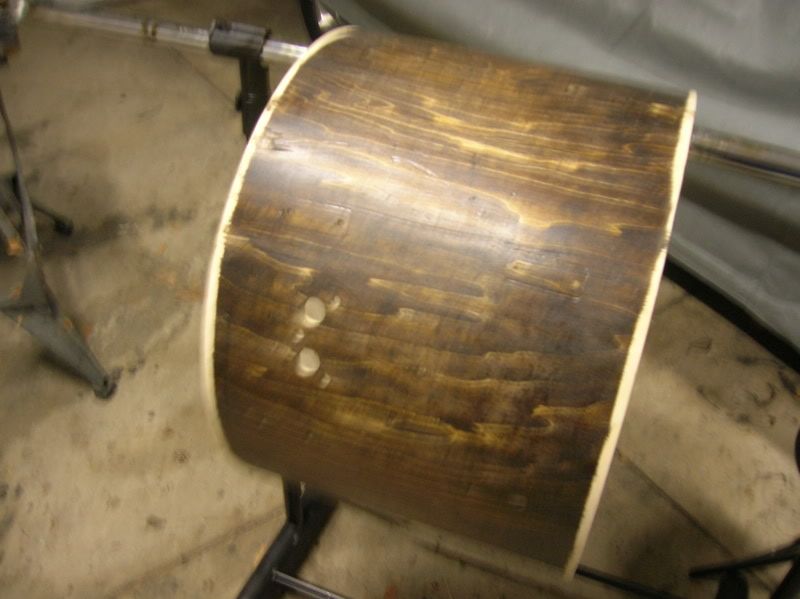
(i think this one is partly sanded. i cant exactly remember)
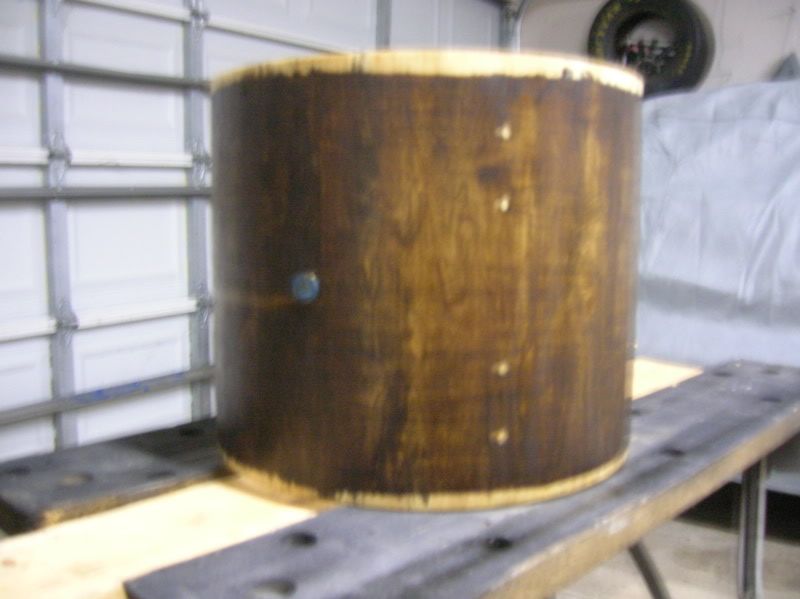
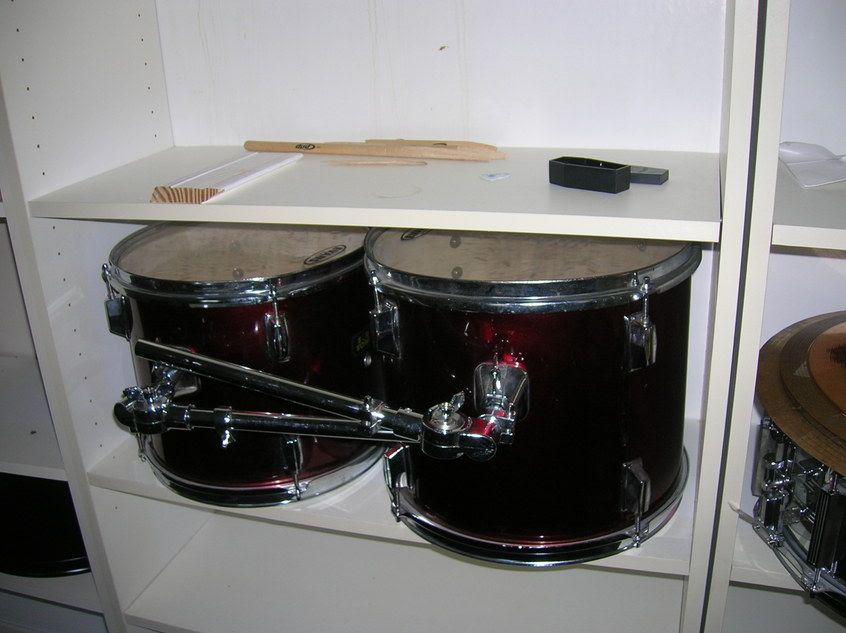
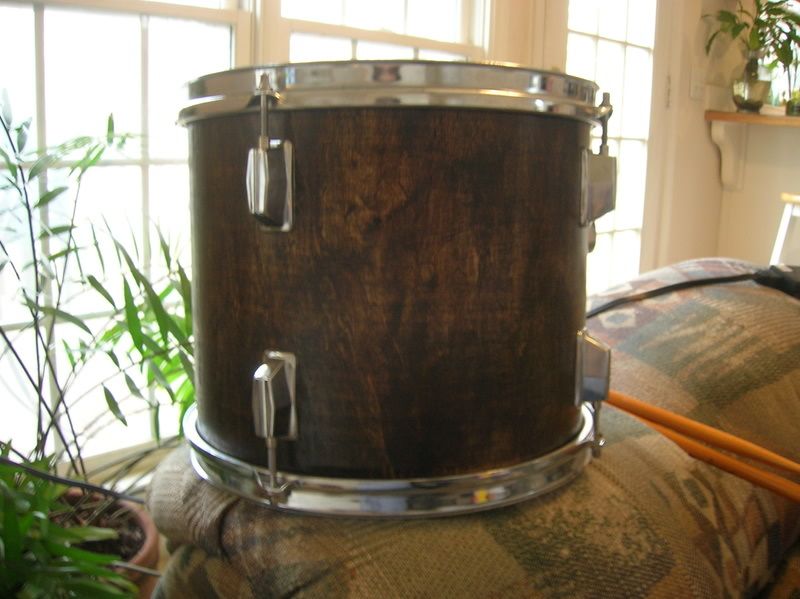
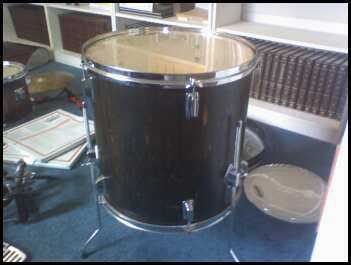
after sanding and a second coat i think they look great now though.
(and bad picture)
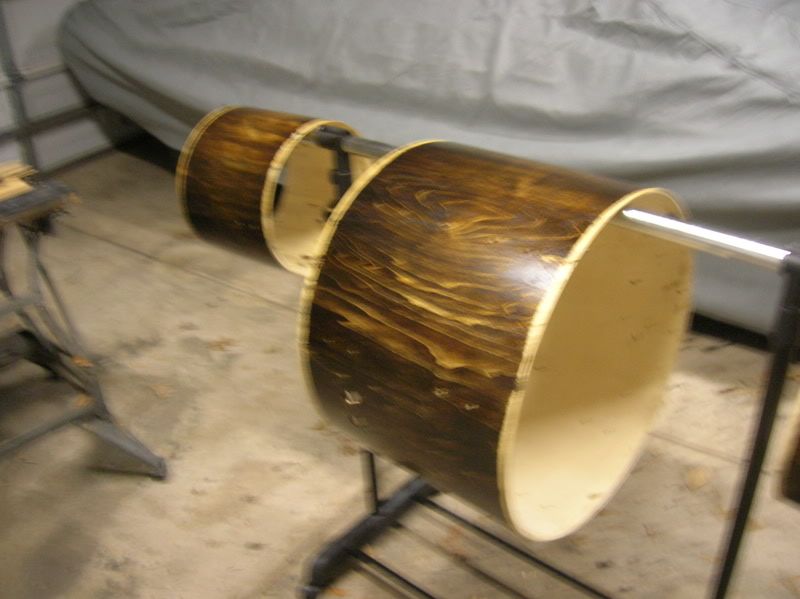
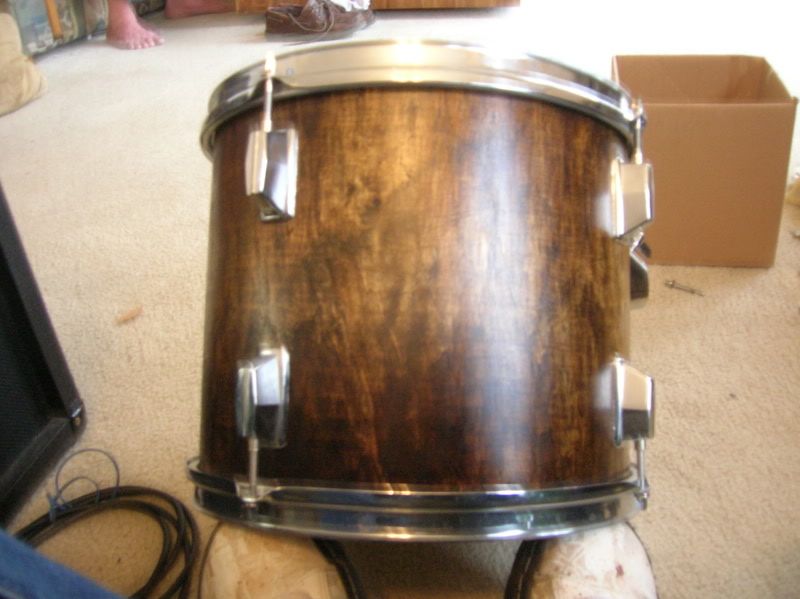
okay here is the moment of truth the high rack tom and floor tom all put together!

What do you guys think? Sorry for the massive amount of pictures (and some being bad. they didnt look blury on the small camera screen heh) If i should remove some just say so.
oh and my total cost:
sandpaper = $0 (had it around)
stain = $7
poly= $10
cheese cloth = $3
stain tray = $1.50
brush for poly = $2
TOTAL = $23.50!
they aren't quite done i need to get another set of claws to put the bass drum completely together and couldn't finish quite on time so no full kit pics yet.
My process was as follows.
I took of the hardware first (duh) and then pulled up the wrap. it was really easy to do on these due to there only being 1 spot that was glued to the wood. I tried to be as carefull as possible when getting it off the shell, but on the bass drum where the glue was is where the wood was bad, so some still got pulled up.
I didnt want to spend much money cause one im a broke college student and two the shells arent that great so it was more just a fun project. I only used the sand paper i had around so i started off with 100 grit on all the shells. I would have like to start with a coarser grit to make it easier to get the glue off but oh well.
After a thorough sanding i wiped them off with a old pillowcase (makes a great shop rag)
and then i went back over them with a 220 grit sandpaper. That really smoothed them out and i felt like they didnt need a finer sanding but i might have wanted to just for a really nice polish. But then again part of this was me doing my own trial and error (i didnt look at any how tos or anything i just had what i thought in my head and wanted to try it)
Now they were ready for the first coat of stain. I taped up the bearing edges i'm not exactly sure why i just didnt do the inside, but i figured it would somehow damage the edge. i doubt it though. i kinda wish i did the whole shell, but at the same time this was a good trial and error and it unstained part gets completely covered.
I used a minwax dark walnut stain. i applied it to the shells with a cheese cloth i did that and let sun bath for half the day. i came back at night and applied the second coat of stain. This really set off the color.
Next day i applied a minwax semi-gloss poly coat to it. i waited 5 hours sanded it down with 220 grit sandpaper and applied a second coat as directed.
This is what they looked like when i started
(and floor tom without hardware)
gross right?
i cant find the pictures of them bare and unsanded but this is close
the toms after only some light sanding
the glue was a pain
and heres the warp in the tom
heres the bass drum... be prepared these are bare and unsanded pics.
that nasty spot you see is where the wood came up on removing the wrap and where i believe the wood was starting to rot.
here are some of the nasty spots on the edge of the bass drum
(the last one is also on the nasty spot)
and there were some spots that were really gouged by the previous owners poor tom placement on the bass drum (they took to sanding pretty decently but they were so deep i couldnt completely get rid of them)
There are a bunch of pictures that i took and i dont know where they are any more (particularly the fixes on the bass drum), but if requested i can get some next weekend and post them.
used and old wardrobe holder type thing to hold the shells while staining and drying it worked perfectly for the rack toms and bass drum but couldnt fit the floor tom so i made my own little rack clamping a 2x4 in a work bench.
and here is the first coat
i dont know why the floor tom was sooo much darker.
and sunbathing
i really liked the color of the first coat but i figured the second would really make it look good.
this is right after i added the second coat.
they dont look nearly as good partly due to it being at night now and only having florescent lighting instead of natural.
yeah my grubby little hand got the inside splotchy
the first coat of poly didnt really make the drums pop
(some sanding^)
(i think this one is partly sanded. i cant exactly remember)
after sanding and a second coat i think they look great now though.
(and bad picture)
okay here is the moment of truth the high rack tom and floor tom all put together!
What do you guys think? Sorry for the massive amount of pictures (and some being bad. they didnt look blury on the small camera screen heh) If i should remove some just say so.
oh and my total cost:
sandpaper = $0 (had it around)
stain = $7
poly= $10
cheese cloth = $3
stain tray = $1.50
brush for poly = $2
TOTAL = $23.50!