You are using an out of date browser. It may not display this or other websites correctly.
You should upgrade or use an alternative browser.
You should upgrade or use an alternative browser.
Show us your Four Piece Kits.
- Thread starter baz
- Start date
pearlygates
Gold Member
Vintage '83 Pearl MX maple
I'm starting a bit of a collection of vintage Pearl drums here's my first acquisition:
I am in the process currently of refinishing them..
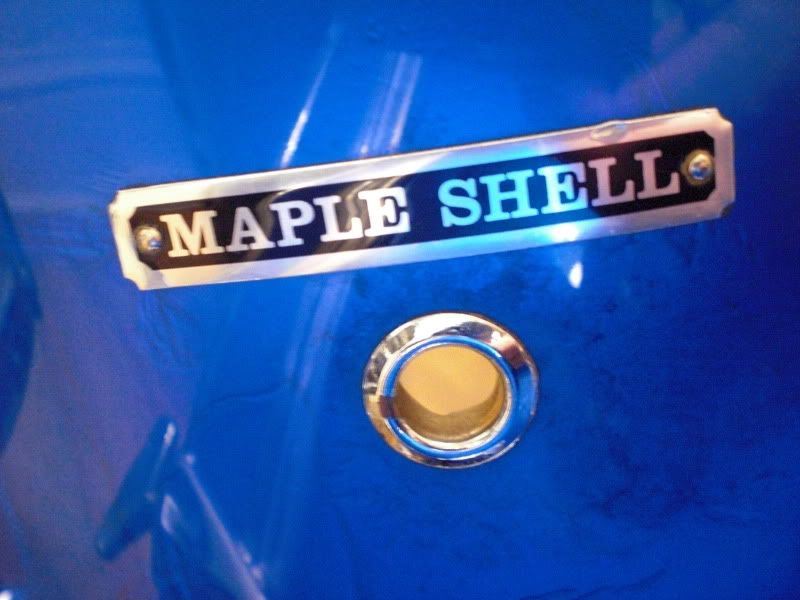

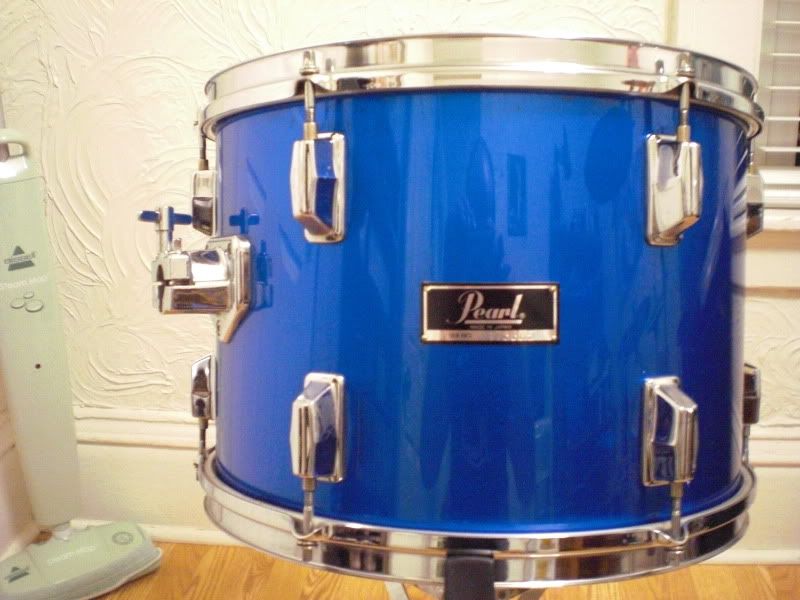
I'm starting a bit of a collection of vintage Pearl drums here's my first acquisition:
I am in the process currently of refinishing them..
JT1
Silver Member
Here's a before and after of my Slingy bop kit covered in zebrawood veneer. The snare is a padauk and curly maple segmented drum that I made.
This is a stunning kit, beautiful!
Pass.of.E.r.a.
Gold Member
all very nice kits so far!
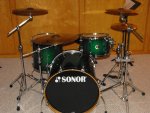
Here's my contribution, a Sonor Force 2007 Birch kit in the Rock Configuration (22x20 BD, 14x6SN,12x8TT, 16x16FT)
With some Zildjian A Custom Pies. 13"A Custom/ZCustom hats, 20" ACustom medium ride 20", 14",16" A Custom Crashes
sorry 'bout the lousy photos, believe it or not, they we're taken with an actual camera, not a phone, but im not to sure which settings to use to get a good pic.......
-Jonathan
Attachments

Mr. Choppers
Member
Here's my Gretsch Catalina Club Jazz kit in natural satin..


")
Mr. Choppers
Member
That's a five piece
I like that setup, I'll try that one.
Bram
I didn't think the mini-timbale counted.
The Fossil
Member
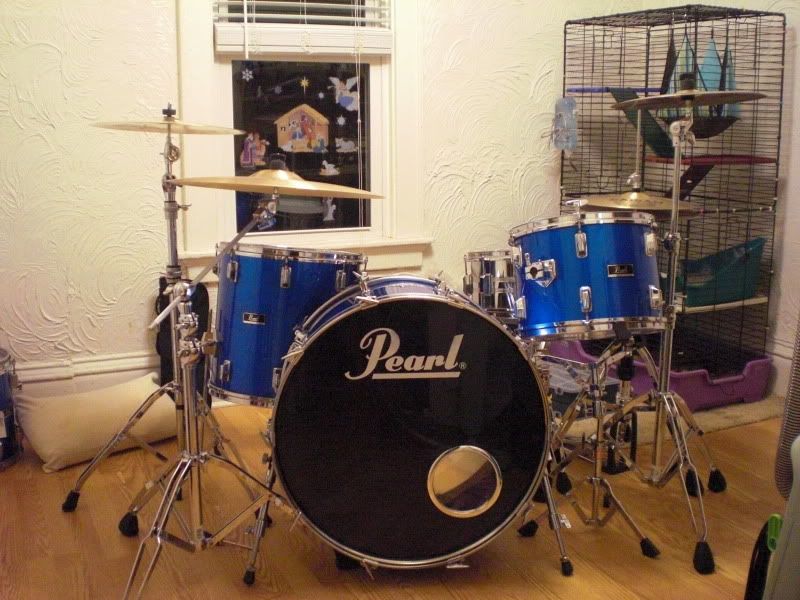
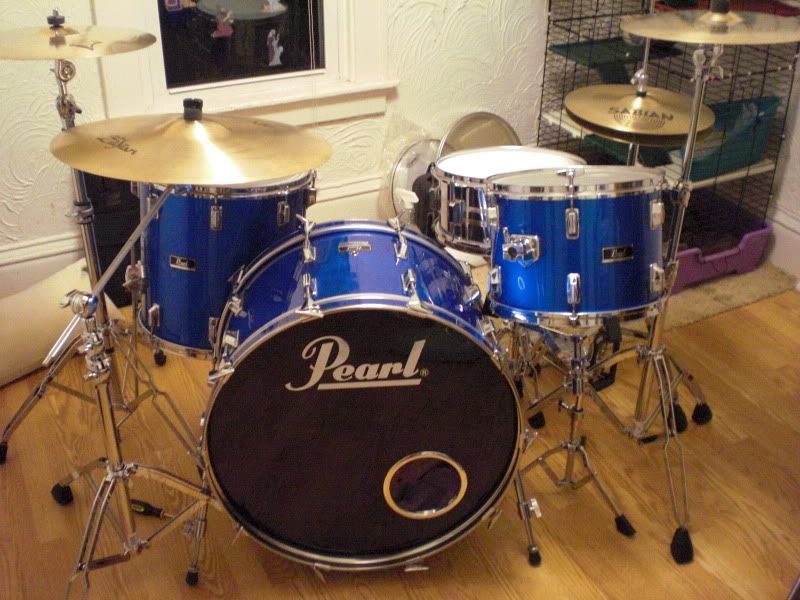
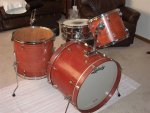
This Ludwig kit started life as a plain jane Accent kit with a wrapped finish, (the blue 5 piece "Before" photo).
Here's what I did to transform it into more of a classic setup. Did all the restoration work in my garage and I think it turned out quite nice.
6.5x14 wood snare, (one pic shows my 402 Supra,my "go-to" snare)
11x13 rack tom
16x16 floor tom
16x22 kick
Remo Emperor on snare
Evans G2 clears over G1 coated on toms
Evans EQ3 batter with Ludwig Vintage Logo reso on kick
Attachments
-
 Wipe on poly used (Medium).JPG84.9 KB · Views: 6,189
 -
 Stain used (Medium).JPG76.6 KB · Views: 6,169
 -
 New Look with Supra 3 (Medium).JPG77.2 KB · Views: 6,196
 -
 New Look with Supra 1 (Medium).JPG79.6 KB · Views: 6,216
 -
 New Look 6 (Medium).JPG70.8 KB · Views: 6,308
 -
 New Look 8 (Medium).JPG68.7 KB · Views: 6,263
 -
 New Look 4 (Medium).JPG60.1 KB · Views: 6,249
 -
 Second coat of stain 3 (Medium).JPG85.9 KB · Views: 6,387
 -
 Glue removed, sanded, masked, and ready for stain 1 (Medium).JPG81.9 KB · Views: 6,417
 -
 Before 1 (Medium).JPG75.8 KB · Views: 6,460
This Ludwig kit started life as a plain jane Accent kit with a wrapped finish, (the blue 5 piece "Before" photo).
Here's what I did to transform it into more of a classic setup. Did all the restoration work in my garage and I think it turned out quite nice.
6.5x14 wood snare, (one pic shows my 402 Supra,my "go-to" snare)
11x13 rack tom
16x16 floor tom
16x22 kick
Remo Emperor on snare
Evans G2 clears over G1 coated on toms
Evans EQ3 batter with Ludwig Vintage Logo reso on kick
wow!!! well done , what a mayor improvement!!
I would be grate is you can post how you did it , thaks!!
The Fossil
Member
wow!!! well done , what a mayor improvement!!
I would be grate is you can post how you did it , thaks!!
Sure, here's rhe steps I followed:
I decided to "unwrap" the kit, not knowing what I would find underneath. Kind of like Forrest Gump said; "a box of chocolates: you never know what you're going to get".
The only shell that didn't really match was the 12x10 rack tom. That didn't really bother me because I'm quite used to a 1 up rack tom setup.
The wrap was taped on only at the vertical seam and in small strips around the top and bottom right below the bearing edges. With the help of a hair dryer set on LOW heat and going SLOW, it came off all in one piece on each shell. To avoid having to put in new breather hole grommets, I used a Laboratory hole cutter that's used to cut small round holes in rubber stoppers.(I work in a Materials Research Lab for the State Roads Dept.). Found one that just fit over the grommet and cut the wrap flush with the edges.
After the wrap was off I used "Goof Off" and mineral spirits to remove the glue residue. This took some time to get all of it off so the stain would take properly.
I used flexible sanding pads so as not to leave any flat spots in the shells, going finer with each sanding and finishing with 220 grit, followed by a tack cloth to remove all the dust.
I decided to give the shells a natural stained look rather than a re-wrap for two reasons; 1. I have two other kits, Tama Superstars EFX in White Satin Haze wrap and '75 Ludwig Vistalites in "Tequila Sunrise" tri color acrylic.
2. Staining was less expensive than ordering new wrap for all 5 shells.
I did order new wood bass hoops to replace the black painted metal ones and a Ludwig Vintage logo bass reso head.
Each shell got 2 coats of the Minwax "Red Sedona" wipe on stain with a dry time of 24 hours between coats, followed by 3 coats of the Minwax high gloss wipe on poly with a dry time of 24 hours and a light sanding with 0000 steel wool and tack cloth between coats. I also put 3 coats of the poly on the interior of the shells also.
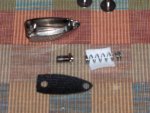
These drums did not have any type of gaskets between the lug casings and the shells like my other kits, so I made my own. I traced the outline of all the hardware pieces on heavy "tag" or poster board to make the templates, (see pic). I used black non slip shelf liner, (Wal-Mart) and a Yellow china marking pencil to trace the outline of the gaskets onto the liner material. A paper hole punch was the right size for the holes. I also packed all the lug casings with felt to eliminate noise from the springs, (see pic).
When all the shells were dry, reassemble using the new gaskets, wax the bearing edges with parifin wax, put on new heads and dial them in. I did put a small felt strip near the bottom of the kick reso head to get the sound I wanted.
All in all, this was a fun project. At age 57, I'm now into "vintage" drums, much to my wife's dismay.
Attachments


nicotine25
Senior Member
Technically not a true 5 pc as I have an extra snare and a conga, but the setup is a basic 4pc....specs include
Gretsch Catalina Birch in Vintage Burst
18x22 Coated Powerstroke 3 / Coated Ambasador Reso
12x9 Coated Vintage Emperor / Clear Ambasador Reso
14x11 Coated Vintage Emperor / Clear Ambasador Reso
14x5 Coated Ambasador CS / Clear Ambasador Reso
14x5.5 Gretsch Crystal Tone Steel Coated Ambasador CS / Clear Ambasador Reso
LP Conga
LP Cyclops Dimpled Brass Tamborine
LP Lil' Ridge Rider Cowbell
Cymbals- Zildjian
6" A Splash
9" Oriental Splash
10" A custom splash (as top X-hat and Drumbal...clutch used as drumbal handle)
10" Sabian HH Duo Splash ( Inverted bell cracked / stacked on 12" Wuhan China)
12" A Special Recording HH
15" K Light Hat top
15" A New Beat Hat Bottom
16" A Thin Crash
18" A Med Thin Crash
21" A Custom Projection Ride
Hardware - Gibraltar 9600 series
Intruder Bass pedal
Liquid drive 2-leg HH
Attachments


RogerLudwig
Senior Member
Very nice roger. Which of the two do you prefer?
It really depends. I play the smaller kit for a jazz gig and accoustic folk rock stuff, the larger kit goes when I'm playing LOUD rock n' roll. Sometimes I throw the 14" FT in with the larger kit for a five-piece.
bonzolead
Platinum Member
This Ludwig kit started life as a plain jane Accent kit with a wrapped finish, (the blue 5 piece "Before" photo).
Here's what I did to transform it into more of a classic setup. Did all the restoration work in my garage and I think it turned out quite nice.
6.5x14 wood snare, (one pic shows my 402 Supra,my "go-to" snare)
11x13 rack tom
16x16 floor tom
16x22 kick
Remo Emperor on snare
Evans G2 clears over G1 coated on toms
Evans EQ3 batter with Ludwig Vintage Logo reso on kick
Great job you changed a ugly-duckling into a swan for sure.
Very Nice,
Bonzolead
EvanMatthiesen
Member
my Gretsch Catalina Clubs, jazz config
18" kick, 12" and 14" toms
13" Porkpie Piglite amber acrylic snare
21" Zildjian sweet ride
17" Sabian extra thin crash
14" Sabian fusion bottom / Zildjian avedis top Hihats
Roland SPD-S
= Fun!
18" kick, 12" and 14" toms
13" Porkpie Piglite amber acrylic snare
21" Zildjian sweet ride
17" Sabian extra thin crash
14" Sabian fusion bottom / Zildjian avedis top Hihats
Roland SPD-S
= Fun!
chathamight
Senior Member
what a great thread, with tonnes of awesome kits! 4 piece kits are the best! here's some more pr0n...
Specs:
Ayotte Custom
Snare: 1997 14x6.5. colour = Natural Maple Gloss, trick throwoff
Kick: 1992 22x16 colour = Fire Engine Red
FT: 15x15
RT: 10x10
Right Side Ride: 20" HHX Stage Ride
Left Side Ride: 21" HHX Legacy Ride
Hats: 14" AA Regulars
Hardware: DW 5000 pedal, 5000 delta hihat, gibraltar stands
Textbook (in pic): The New Breed
grungeandpunkrockliveson
Junior Member
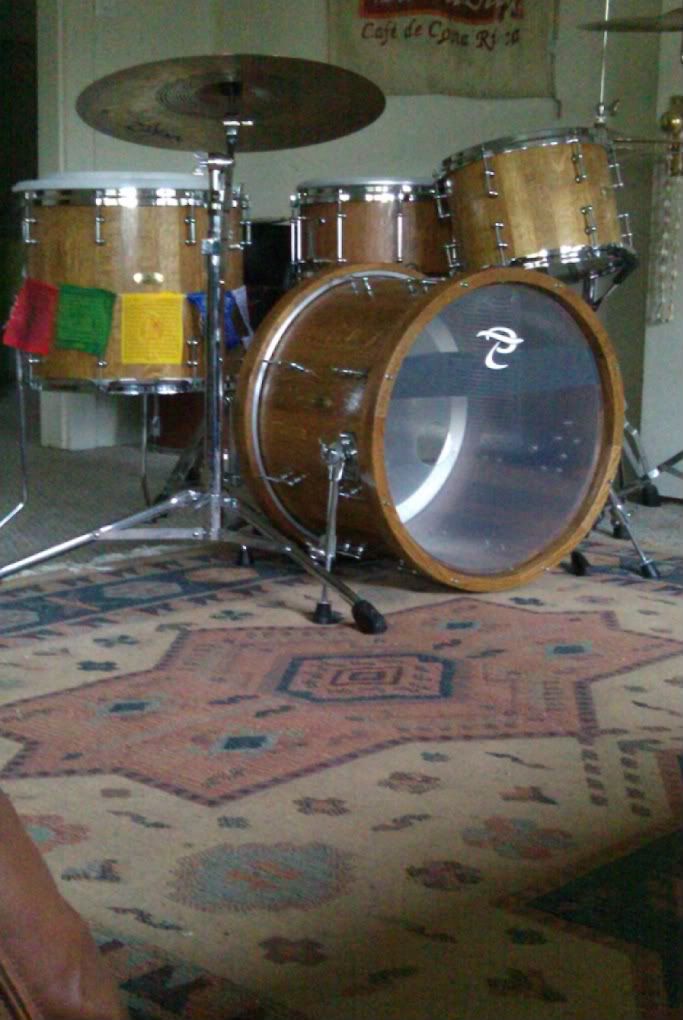
oak stave 12, 16, 20
walnut stave 7x14
whenever i think about getting a big kit i remember tony williams lifetime's "emergency!" Go 4 Piece!!!
Awesome kit I'm thinking of building my own oak stave drums! How do they sound compared to the maple or birch and do you think that a your 20" bass would work good for a grunge/rock music? Also if you built those yourself do you have a tips from some one attempting the same project? and how deep are your drums?
Thanks Corey
Didnt make them myself unfortunately, but they are 8x12, 14x16, and 14x20, the 20 inch is holding up well to my friends amps, I mostly play garage acid rock and the volume has not been an issue! The oaks dont seem to like thinner heads, but i have some aquarian performance II's and they sound great, it takes a good whack to get the full tone, but oak is for loud music!! brighter than maple, and a little crazier than birch. {Tpdrums.com}
pearlygates
Gold Member
CC Birch Jazz
My newest addition..
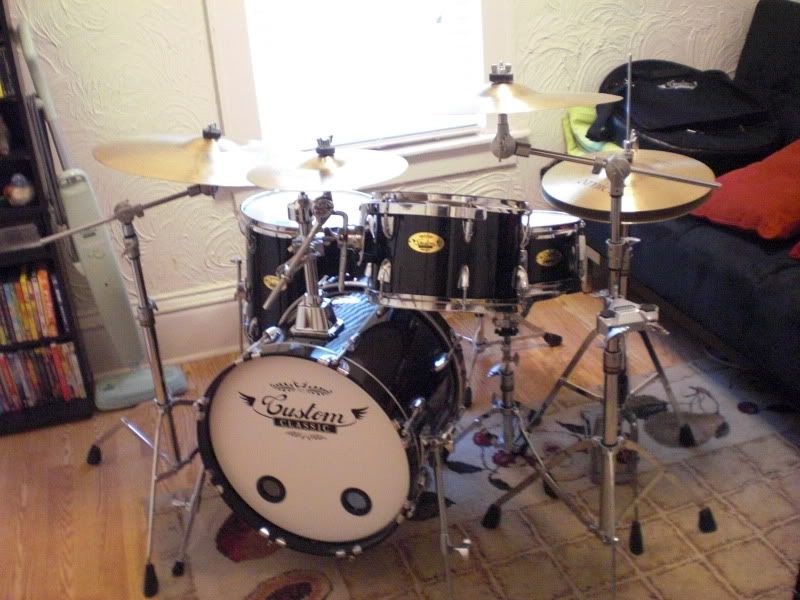

My newest addition..